

Table of Contents
- Why DTF Transfer Adhesive Fails: The Core Problem
- DTF Transfer Not Sticking: Root Causes and Solutions
- DTF Transfer Peeling After Pressing: Prevention and Repair
- DTF Transfer Temperature and Time: Getting Settings Right
- DTF Transfer Pressure Settings: Finding Your Sweet Spot
- Uneven Powder Coverage and Clumping: Diagnosis and Fix
- A Troubleshooting Decision Tree for Adhesion Problems
- Testing Adhesion and Wash Durability
- Frequently Asked Questions
Last Updated: October 19, 2026
Why DTF Transfer Adhesive Fails: The Core Problem
DTF transfer adhesive issues stem from a simple reality: the bond between your transfer film and the garment surface depends on precise conditions. Get one variable wrong, and the entire transfer fails.
Most shops treat pressing like a one-size-fits-all operation. They set the temperature once and never adjust. They apply pressure without testing. They assume all adhesive powder performs the same way.
Here's what actually matters: your heat press settings, your adhesive powder quality, your curing time, and your fabric preparation. These four factors control whether your transfer sticks or peels.
The good news: most DTF transfer adhesive issues are preventable. Once you understand what causes them, you can diagnose problems quickly and fix them before they waste material and customer goodwill.
DTF Transfer Not Sticking: Root Causes and Solutions
DTF transfer not sticking happens when the adhesive powder fails to bond the film to the fabric. The transfer sits on top of the garment instead of bonding with it. You can peel it off with your fingernail immediately after pressing.
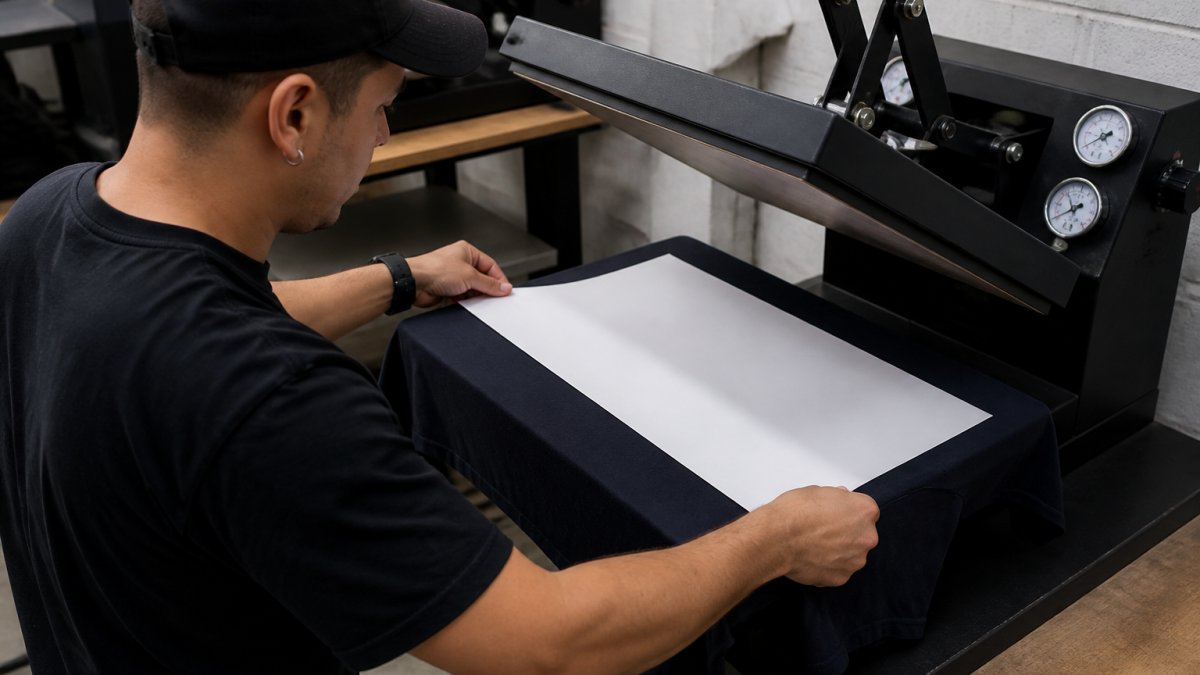
This falls into three categories: temperature problems, pressure problems, or time problems. Each produces the same symptom but requires a different fix.
Incorrect Heat-Press Temperature
Temperature is the foundation of adhesive bonding. Too cold, and the adhesive powder never melts enough to flow into the fabric fibers. Too hot, and you can damage the film or the garment.
The adhesive powder melts at a specific temperature range. Most adhesive powders activate between 320°F and 340°F.
Many heat presses show inaccurate temperatures. The display might read 330°F while the actual platen temperature sits at 310°F. This gap kills adhesion. Use a temperature gun to verify your press temperature.
Start with the temperature recommended for your specific adhesive powder. If transfers still don't stick, raise the temperature by 5°F increments. Test each setting on a scrap garment.
Insufficient or Excessive Pressing Pressure
Pressure forces the adhesive powder into the fabric fibers. Too little pressure leaves gaps. Too much pressure can crush fine details or damage delicate fabrics.
The right pressure depends on your fabric type. Cotton and polyester blends typically need 1.5 to 2.5 tons of pressure. Delicate fabrics need less. Heavier fabrics sometimes need more.
Start at the midpoint for your fabric type. Press a test transfer. Check the adhesion by trying to peel the transfer edge. If it peels easily, increase pressure by 0.25 tons. Test again. Repeat until the transfer resists peeling.
Write down the final pressure setting for each fabric type you use regularly. This saves time and reduces failed batches.
Pressing Time and Dwell Time Errors
Pressing time is how long the heat and pressure stay applied. Dwell time is how long the transfer sits on the garment after the press opens but before you remove it.
Most adhesive powder needs 8 to 12 seconds of pressing time. Less than 8 seconds, and the adhesive doesn't fully activate. More than 15 seconds can damage the film or create discoloration.
After the press opens, leave the transfer on the garment for 3 to 5 seconds. This is dwell time. It lets the adhesive set slightly before you peel the transfer film away.
Use a timer. Many operators estimate time and get it wrong. A cheap kitchen timer takes the guesswork out.
DTF Transfer Peeling After Pressing: Prevention and Repair
DTF transfer peeling after pressing means the transfer held initially but failed during wear or washing. The edge started lifting. Then the whole transfer separated from the garment.
This points to incomplete bonding or weak adhesive curing. The powder activated and flowed, but not completely. It needs one of three fixes.
Adhesive Powder Quality and Compatibility Issues
Not all adhesive powder is the same. Low-quality powder has inconsistent particle size. Large particles don't melt evenly. Small particles clump together. Both create weak spots in the adhesive layer.
Compatibility matters too. Your adhesive powder must match your transfer film. Different films have different surface properties. A powder designed for one film type may not bond properly to another.
Buy adhesive powder from suppliers who test compatibility with your specific transfer film. Ask for a compatibility list. If your supplier can't provide one, find a new supplier.
Store adhesive powder in a cool, dry place. Humidity damages it. Clumping begins within weeks if the container isn't sealed properly. Replace powder that shows visible clumping or discoloration.
Insufficient Adhesive Powder Curing
Curing is the process where the adhesive powder hardens and bonds permanently. Incomplete curing means the adhesive is still soft when you remove the transfer film. It sets later, but the bond is weak.
Most adhesive powder fully cures within 24 hours at room temperature. Some formulations cure faster. Check the technical data sheet for your specific powder.
Don't wash or wear the garment for at least 24 hours after pressing. This is non-negotiable. The adhesive is still setting. Stress on the transfer during this window causes peeling.
For high-volume production, let garments sit overnight before quality-checking them. This ensures the adhesive has fully cured before you inspect the transfer.
Excess Adhesive Powder and Residue Buildup
Too much adhesive powder creates a thick, brittle layer. This layer cracks under stress instead of flexing with the garment. Cracks lead to peeling.
Excess powder also leaves residue on the transfer film. This residue interferes with the next transfer you press. It builds up over multiple uses and eventually ruins the film.
Apply only enough powder to create an even, thin layer. The powder should coat the film completely but not pile up. If you see clumps or thick spots, you're using too much.
Clean your heat press platen regularly. Powder residue accumulates and transfers to the next garment. Wipe the platen with a dry cloth after every 10 to 15 presses. Use a slightly damp cloth if residue won't come off with dry wiping.
DTF Transfer Temperature and Time: Getting Settings Right
Temperature and time work together. The right temperature at the wrong time produces poor adhesion. The right time at the wrong temperature produces the same result.
Start with these baseline settings:
- Temperature: 330°F
- Pressing time: 10 seconds
- Dwell time: 4 seconds
- Pressure: 2 tons
Test these on your most common fabric. If the transfer sticks and resists peeling, document these settings. If it peels, adjust one variable at a time.
If the transfer peels immediately after pressing, increase temperature by 5°F or increase pressing time by 1 second. Test again.
If the transfer holds for a few days then peels, the adhesive isn't curing fully. Increase pressing time by 2 seconds. This ensures the adhesive activates completely.
Keep a log of every setting change and the result. Over time, you'll build a reference chart for your specific equipment and materials.
DTF Transfer Pressure Settings: Finding Your Sweet Spot
Pressure forces the adhesive powder into the fabric. Too little and it doesn't bond. Too much and it damages the garment or transfer film.
The sweet spot depends on your fabric weight and weave. A cotton jersey knit needs different pressure than a polyester athletic mesh.
Test pressure in 0.25-ton increments. Start at 1.5 tons for light fabrics and 2.5 tons for heavy ones. Press a test transfer.
Once you find the right pressure, mark it on your heat press. Use painter's tape and a permanent marker. This prevents accidental changes that ruin batches.
Pressure gauges on heat presses drift over time. Check your actual pressure monthly using a calibrated pressure gauge. If it's off by more than 0.25 tons, have the press serviced.
Uneven Powder Coverage and Clumping: Diagnosis and Fix
Uneven powder coverage creates weak spots in the adhesive layer. The transfer sticks where powder is thick but peels where it's thin.
Clumping happens when powder particles stick together instead of spreading evenly. This leaves bare spots on the film and thick clusters elsewhere.
Both problems start during the powder application process. If your powder applicator is clogged or worn, it won't distribute powder evenly. Replace applicator screens or nozzles if they show wear.
Humidity causes clumping. If your shop has high humidity, store powder in airtight containers with desiccant packets. Change the packets monthly.
Inspect every transfer film before pressing. Hold it up to light. Look for bare spots or thick clusters. Reject films with obvious powder problems.
A Troubleshooting Decision Tree for Adhesion Problems
When a transfer fails, follow this sequence:
Step 1: Check the adhesive powder Look at the transfer film. Is powder coverage even? Are there clumps or bare spots? If yes, replace the powder or the applicator screen.
Step 2: Verify press temperature Use a temperature gun. Check the platen temperature. Does it match your target?
Step 3: Test pressing time Increase pressing time by 1 second. Press a test transfer. Does it stick better?
Step 4: Check pressure Increase pressure by 0.25 tons. Press a test transfer. Does adhesion improve? If yes, pressure was too low.
Step 5: Inspect the fabric Is the garment surface clean? Lint, dust, or finish buildup prevents adhesion. Wipe the garment with a dry cloth before pressing.
Step 6: Wait for full curing Let the garment sit for 24 hours. Try peeling the transfer again.
Work through these steps in order. Most failures fall into one of these categories. Once you identify the problem, the fix follows logically.
Testing Adhesion and Wash Durability
After pressing, test adhesion immediately. Peel the transfer edge gently. It should resist peeling. If it peels easily, the transfer will fail in the wash.
For a more rigorous test, do a peel test after 24 hours of curing. The transfer should resist peeling with moderate force. It shouldn't tear or separate.
Wash durability is the real test. Press a test transfer. Wash the garment 10 times using warm water and normal detergent. Dry it normally.
If transfers fail this test, your settings or materials need adjustment. Work through the decision tree above. Most likely culprits are:
- Temperature too low
- Pressing time too short
- Adhesive powder quality issues
- Insufficient curing time before washing
Document your successful settings once you find them. These become your baseline for future production. When new batches fail, compare them to your baseline.
DTF transfer adhesive issues don't have to derail your production. The problems are predictable, and the fixes are straightforward.
Frequently Asked Questions
Why is my DTF transfer not sticking to the shirt?
DTF transfer not sticking usually stems from three factors: incorrect heat-press temperature (too low prevents adhesive activation), insufficient dwell time (the transfer needs 10-15 seconds of sustained heat), or incompatible adhesive powder. Check your press temperature against your transfer specifications, ensure you're holding pressure for the full dwell time, and verify the adhesive powder matches your transfer film type. Fabric preparation also matters, dirty or heavily textured surfaces reduce adhesion.
What should my DTF transfer temperature and time settings be?
Most DTF transfers require 320-350°F (160-177°C) for 10-15 seconds, though this varies by adhesive powder type and transfer film. Start at the manufacturer's recommended temperature and dwell time, then run a test press on scrap fabric. If the transfer peels, increase temperature by 5°F and try again. If the design cracks or the film scorches, reduce temperature. Document your final settings and use them consistently across batches to maintain adhesion quality.
How do I know if my DTF transfer pressure settings are correct?
Correct DTF transfer pressure settings typically range from 40-60 PSI (pounds per square inch), depending on fabric weight and press design. Apply moderate, even pressure, too light leaves adhesive uncured and transfers peel; too heavy can crush fine details and damage the film. Press a test transfer, peel the film while warm (not hot), and check for complete powder transfer to the fabric. If adhesive remains on the film, increase pressure slightly. If the design looks crushed, reduce pressure.
Why does my DTF transfer peel after washing?
DTF transfer peeling after washing usually indicates under-curing of the adhesive powder. Adhesive needs full heat penetration and time to bond with fibers, rushing the press or using low temperature leaves powder particles loose. Ensure your dwell time matches the powder manufacturer's spec, use the correct temperature for your adhesive type, and allow transfers to cool fully before handling. Wash tests at 60-80°F in cold water help verify durability before sending finished garments to customers.